This is it.
I know you have warriors. I love mine. The other day they got charged by a treeman, held their own, defeated it (hurray for musician) and ran him down. I know this doesn't happen every day. But I still love my warriors and their lovely Drannachs.
This is a step-by-step guide for painting a respectably looking band of warriors! You don't have to be a picasso, I know I'm not! Hope you find this useful and enjoy!!
Ready? Here we go!
***************************************************************************
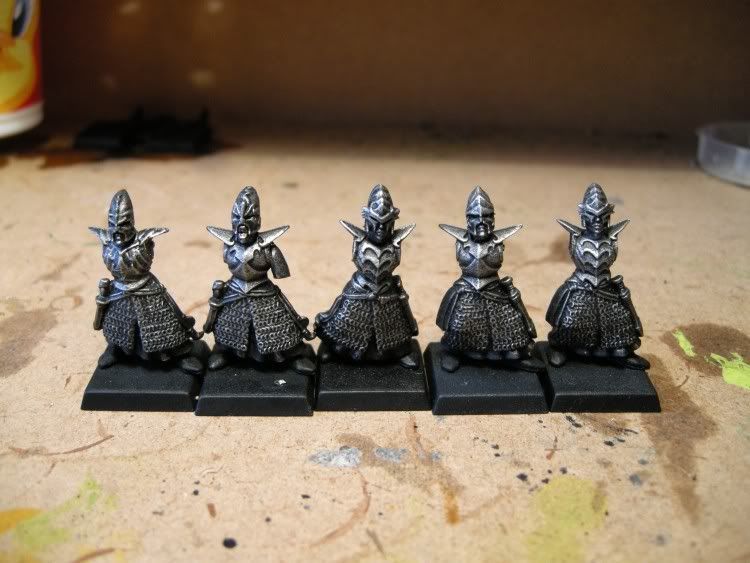
Start off by filing, assembling and undercoating the model as follows. It is useful not to glue any hands yet.

***************************************************************************
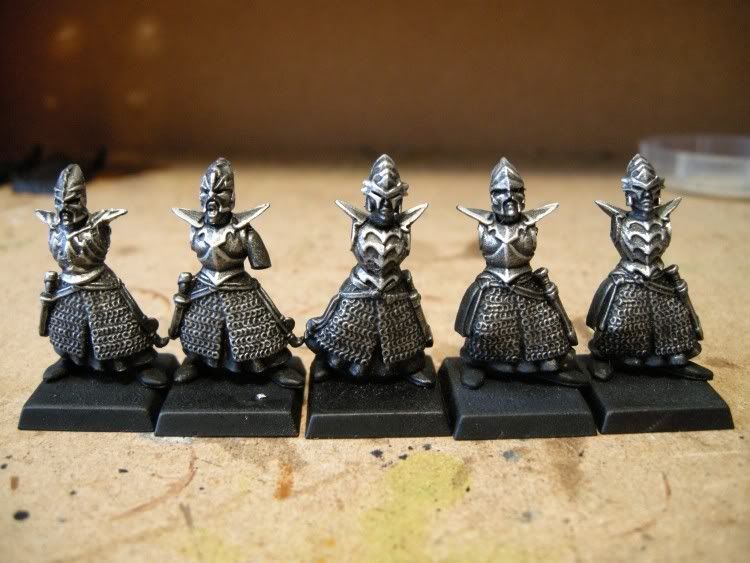
Proceed with drybrushing any visible armor with boltgun metal. Keep the drybrushing light, but thorough. Armor consists of leg chain, breastplate, helmet and a couple of metal bracers on the arms. I also chose to paint some parts of the sword, like the hilt and the bottom of the scabbard. You do not have to be overtly careful, as we will correct any parts that metal paints have gone from the drybrush later on with chaos black. Do not do this until we mention it. There will be plenty more metal!
***************************************************************************
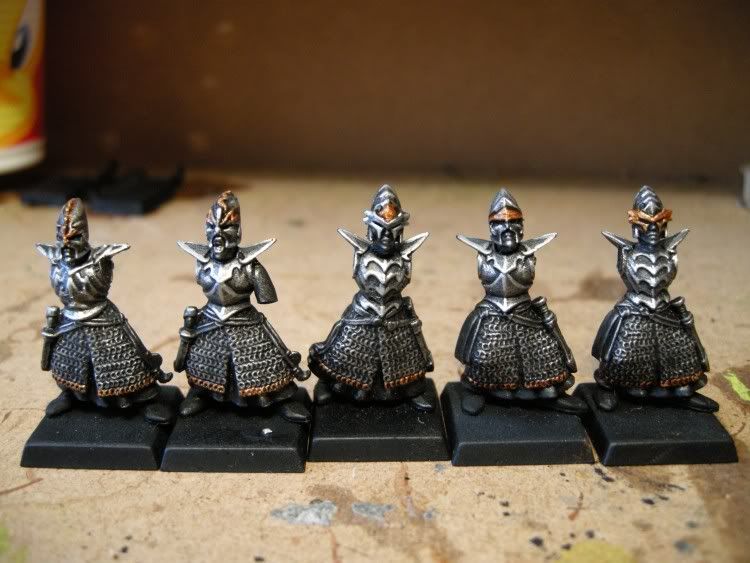
Next, pick out the edges of the raised parts of the armour using chainmail.
***************************************************************************
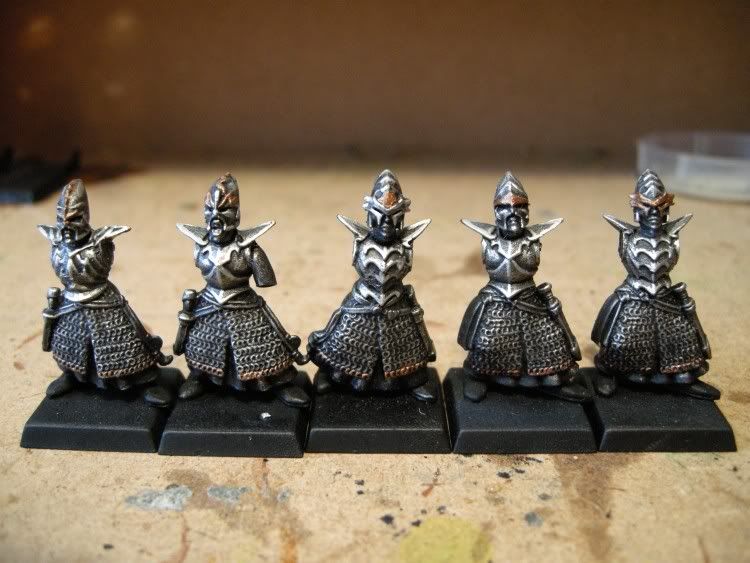
Pick out some details on the helmet as well as the bottom row of chains with Brazen Brass. This will act as a basecoat for the gold.
***************************************************************************
No proceed to cover these parts with Shining Gold.
***************************************************************************
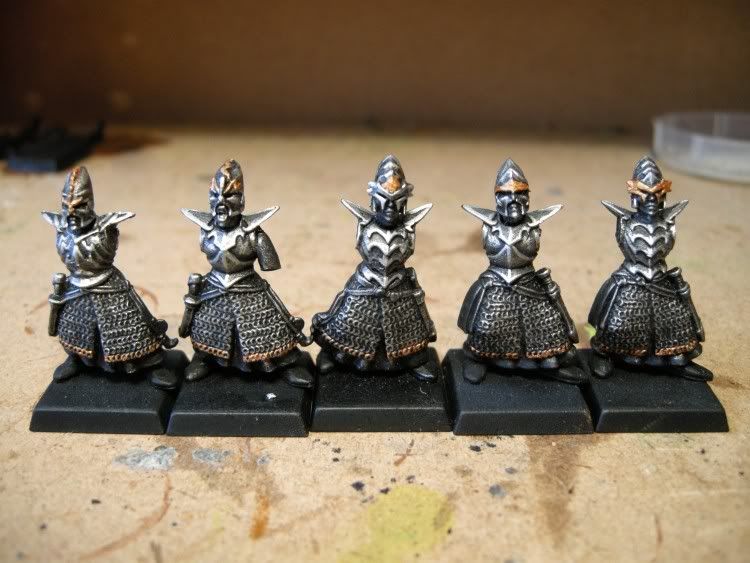
Using watered down Brown Ink, wash the golden parts. Make sure some ink gathers around the parts on the helmets.
***************************************************************************
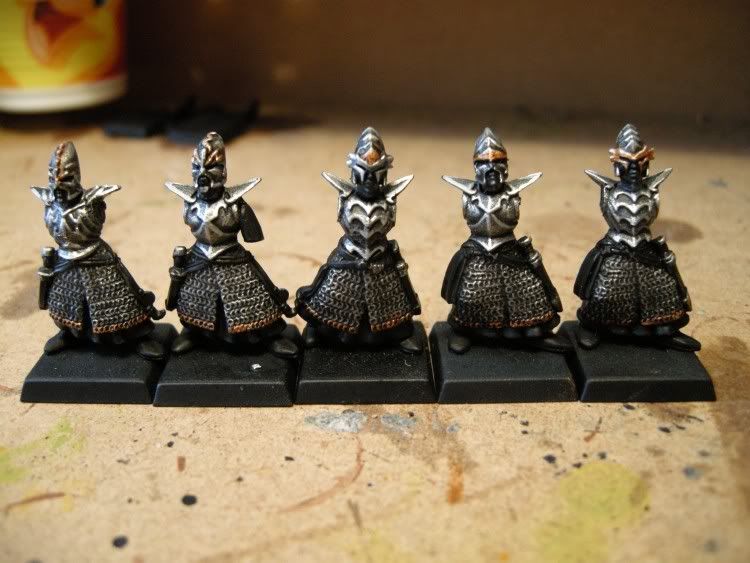
Next, we need to highlight the gold. To do this add just a drop of mithril silver onto a substantial amount of shining gold. Just a little will do. See the photo.
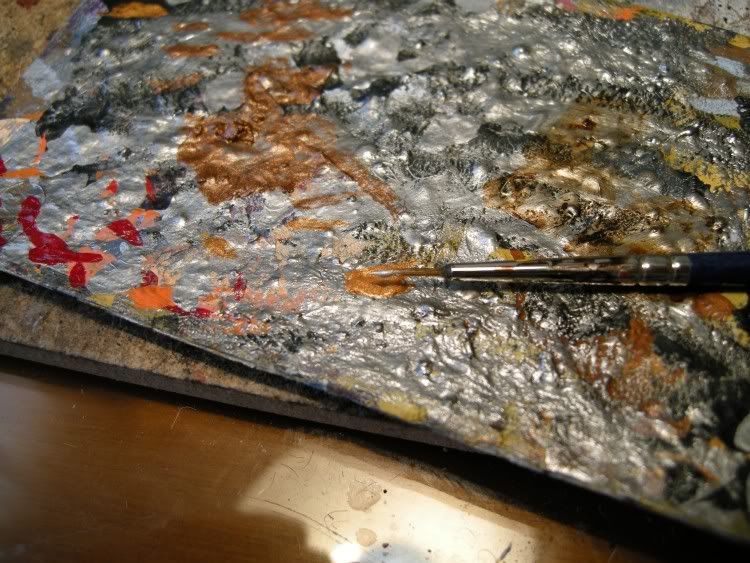
Using the new gold, highlight the raised parts and the edges of the golden areas. Don't do this for the chainmail trim, as it supposed to be darker down there.
***************************************************************************
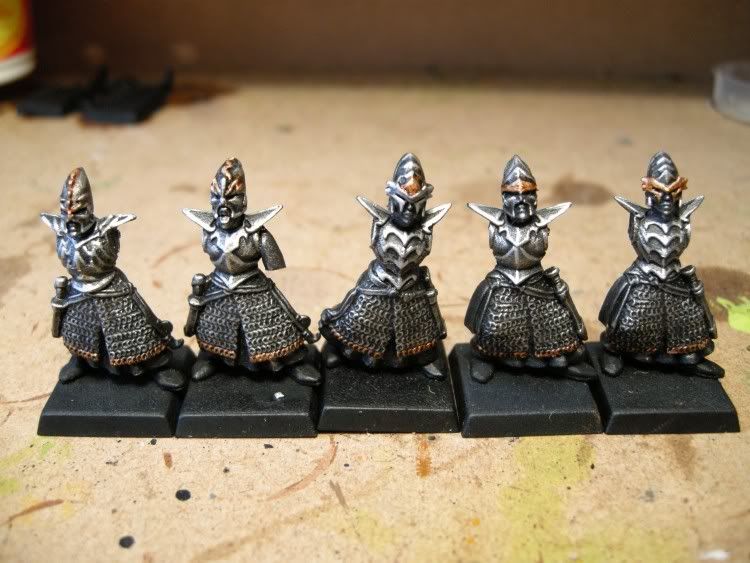
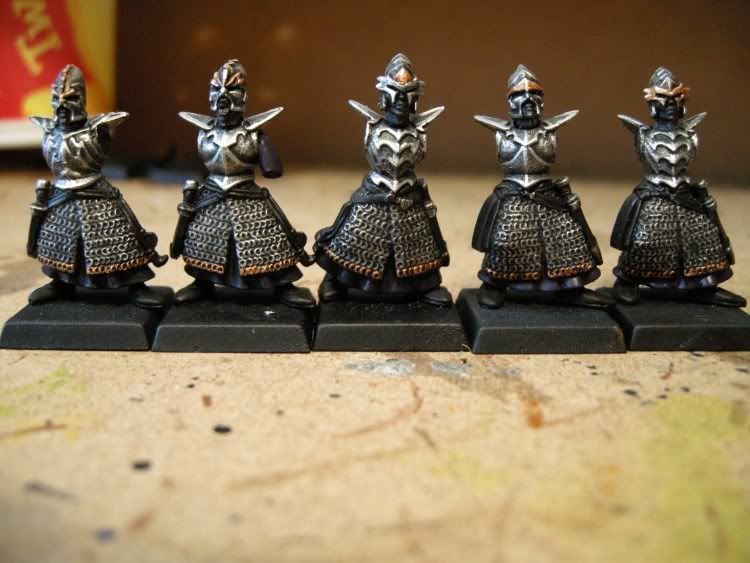
Add just a tiny dot of mithril silver on the outermost raised golden parts. Do not overdo it. Just a hint will do.
***************************************************************************
That's all with the armor. Now is the time to correct using chaos black on any areas we hit by accident.
***************************************************************************
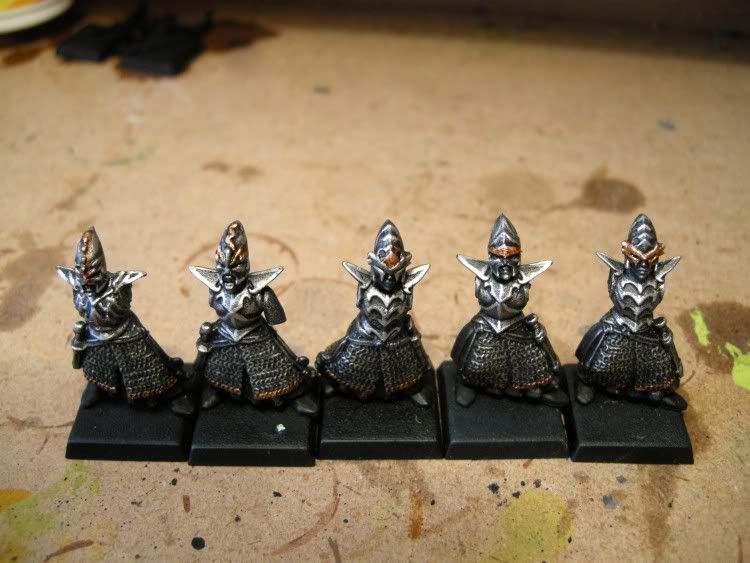
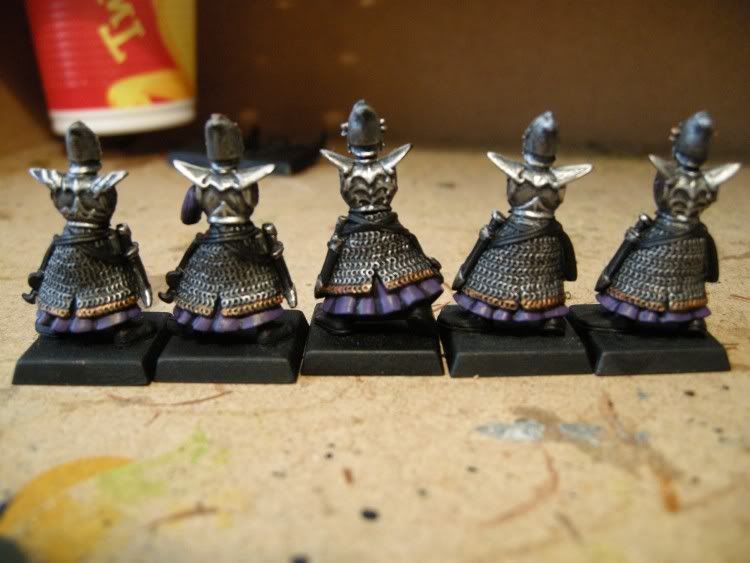
Using a mix of one part chaos black to three parts liche purple, undercoat all the cloth parts.
***************************************************************************
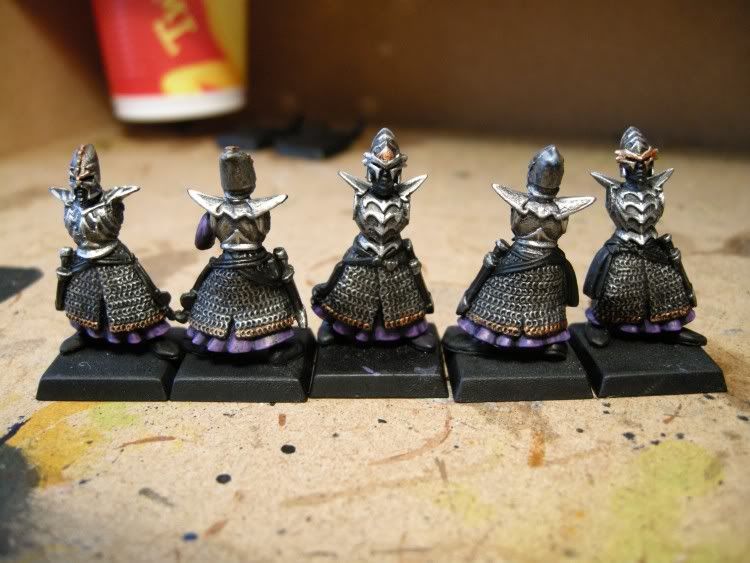
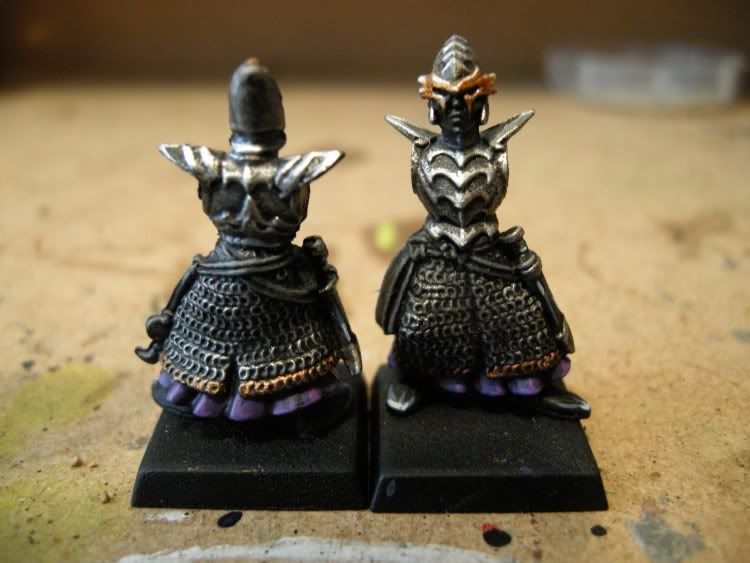
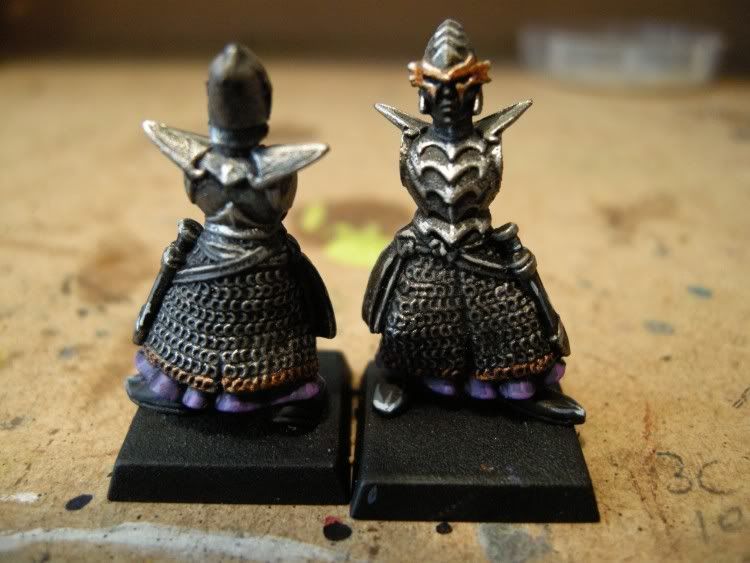
Next, highlight these parts using a mix of one part Shadow Grey to two parts Liche Purple.
***************************************************************************
Do a final highlight on the cloth using the same mix as the above, but add two parts space wolves grey.
***************************************************************************
Highlight the scabbard and the grip of the sword, as well as the edges of the shoes with shadow grey.
***************************************************************************
Then proceed to highlight these parts with a hint of space wolves grey.
***************************************************************************
Now it's time for the belt accessories. Carefully drybrush these lightly with codex grey.
***************************************************************************
Now highlight the belt accesories with Fortress Grey. We use a different shade of gray than the shoes and the scabard for variety and less dullness.
***************************************************************************
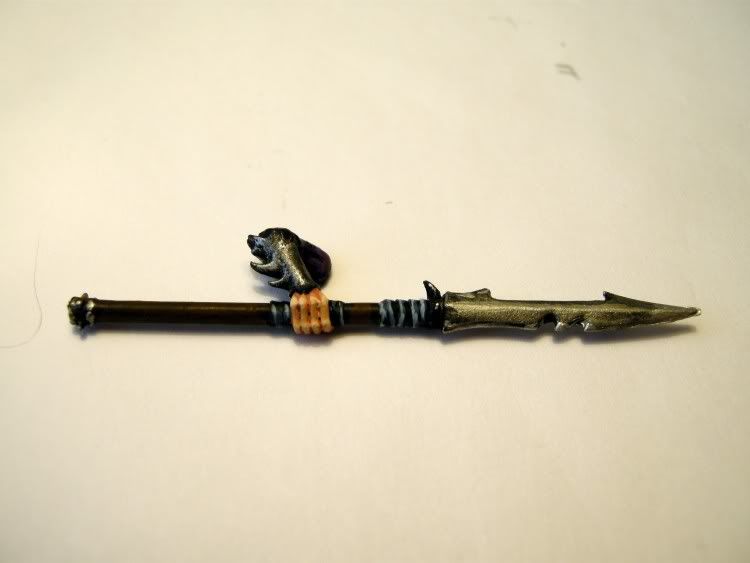
Now do all of the above parts for the spears. For the cloth parts use shadow grey
highlighted with space wolves gray. For the metal drybrush boltgun metal and highlight with chainmail. Add a final highlight with mithril silver on the sharp edges. For the wood, basecoat with Scorched Brown and do a wash with bestial brown as a highlight. For the hand, basecoat with Dwarf Flesh, highlight with elf flesh followed by a final highlight on the knuckles with an mix of equal parts elf flesh and skul white. The end reuslt should look something like this. Do this for all spears now.
***************************************************************************
Do the same for the left hands and glue everything on. Do the same flesh routine for the mouths.
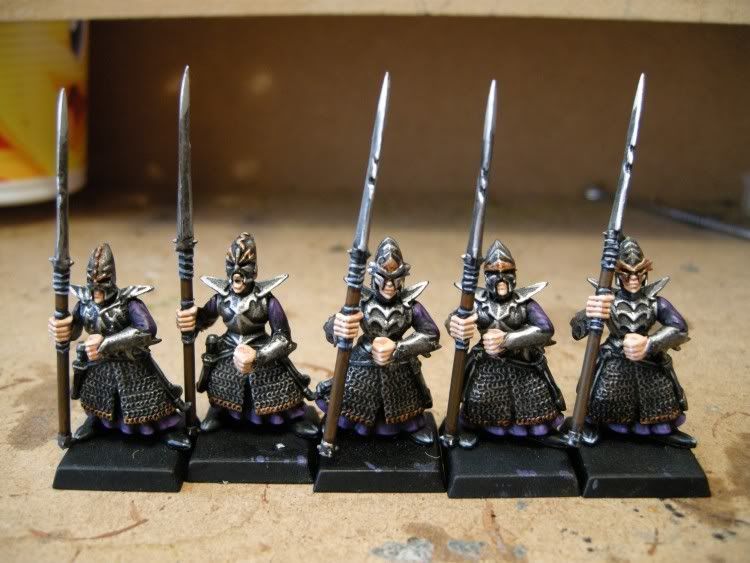
***************************************************************************
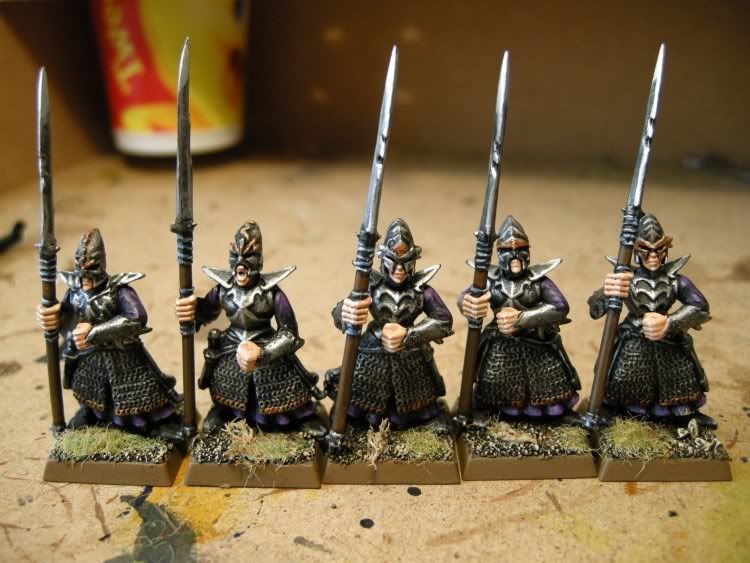
Add some gravel and flock of your liking.
***************************************************************************
Now let's discuss shields. They are very easy to do. Just use very light brushtrokes one the scales. Remember this!
***************************************************************************
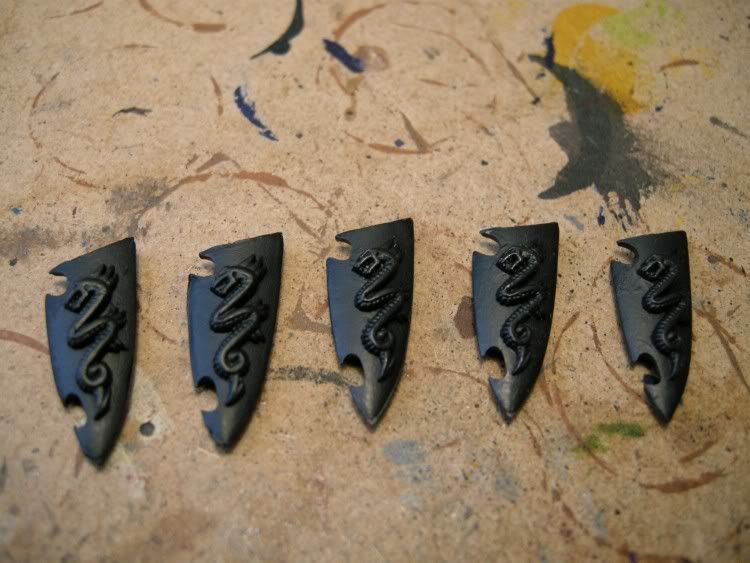
First begin with drybrushing the back part with boltgun metal, then correct with chaos black. No need to be careful, this part will hardly be seen at all.
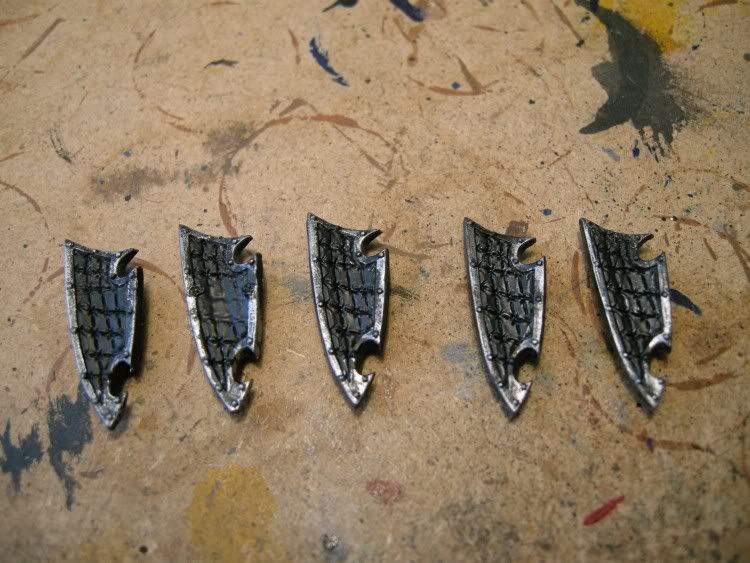
***************************************************************************
Next, pick out the dragon with Mechrite Red (or scab red if you prefer). This will act as a basecoat for red. It is a good idea to leave some black recesses so that the end result has more contrast.
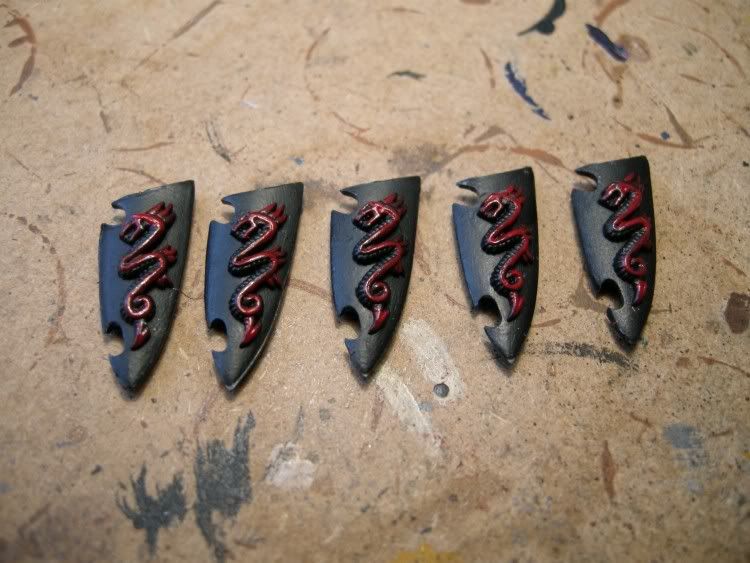
***************************************************************************
Carefully pick the scales with scab red.
***************************************************************************
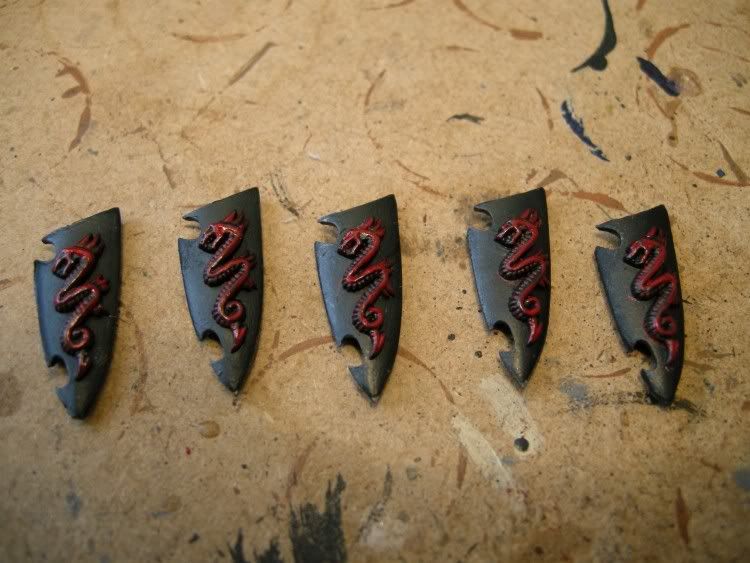
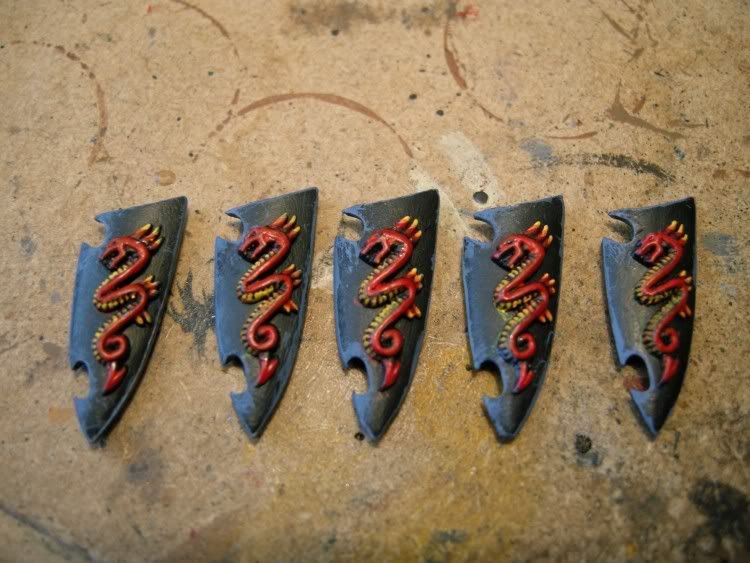
Proceed with Blood Red on every part of the dragon, apart from the scales. After it dries up, highlight the little edges and the scales with fiery orange.
***************************************************************************
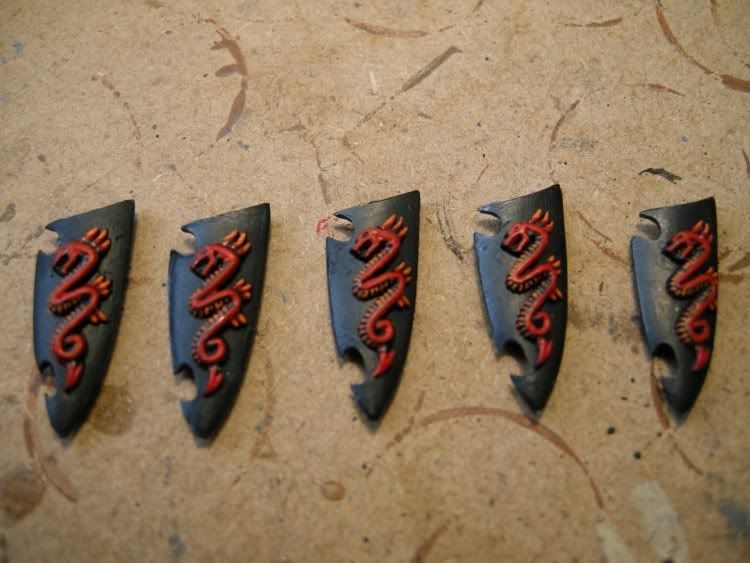
Pick out the final edges with sunburst yellow. Do this crefully for the scales.
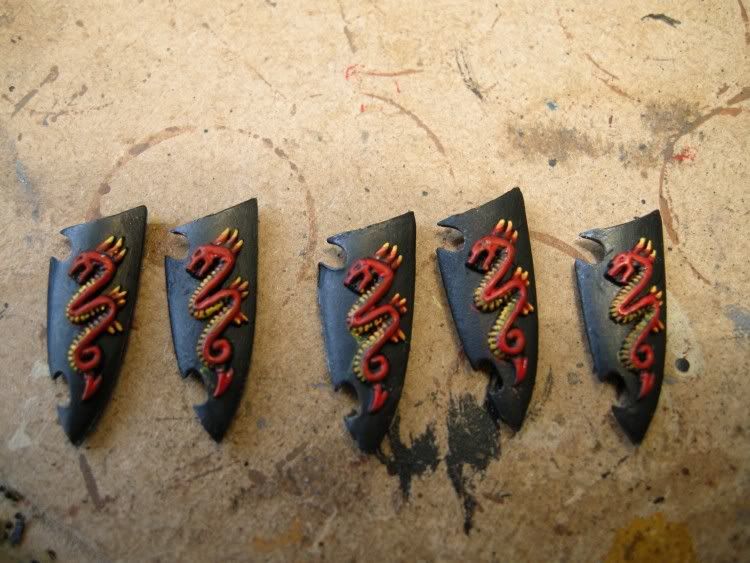
***************************************************************************
Proceed to create a line all around the shield using Shadow Grey. No need to be careful. We will correct errors later.
***************************************************************************
Now highlight the edges with Space Wolves Grey.
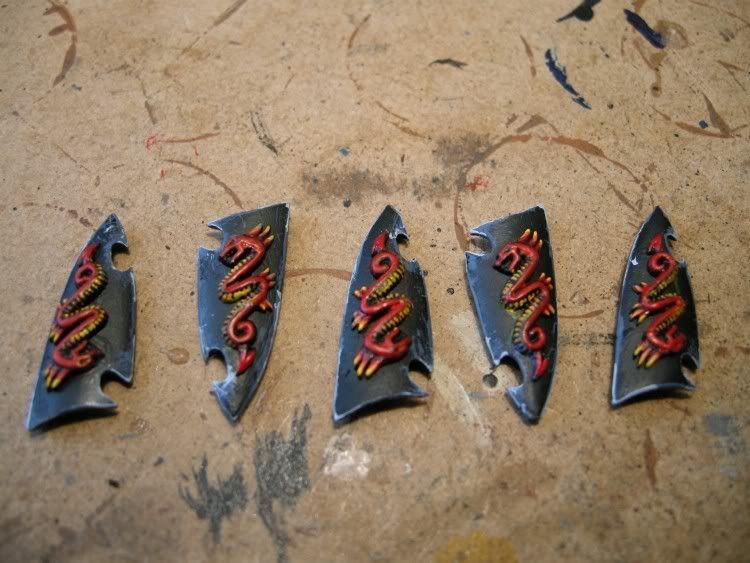
***************************************************************************
Correct the shields with Chaos black and then glue them on. You're done!
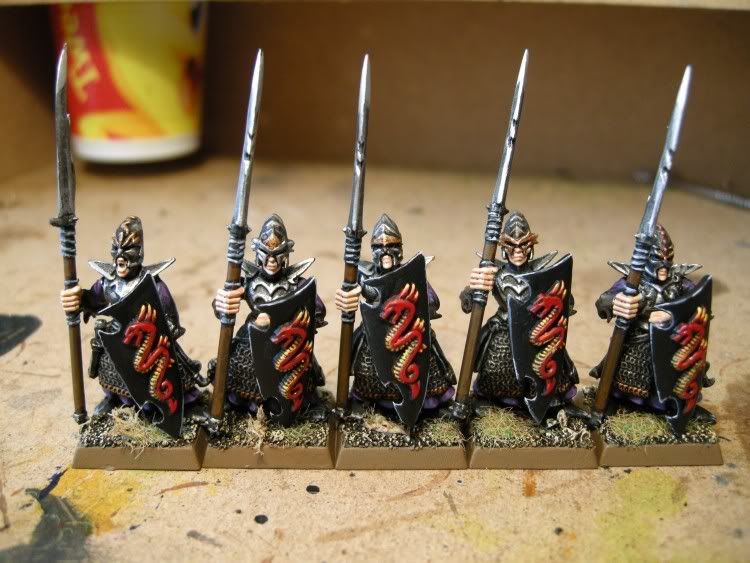
***************************************************************************
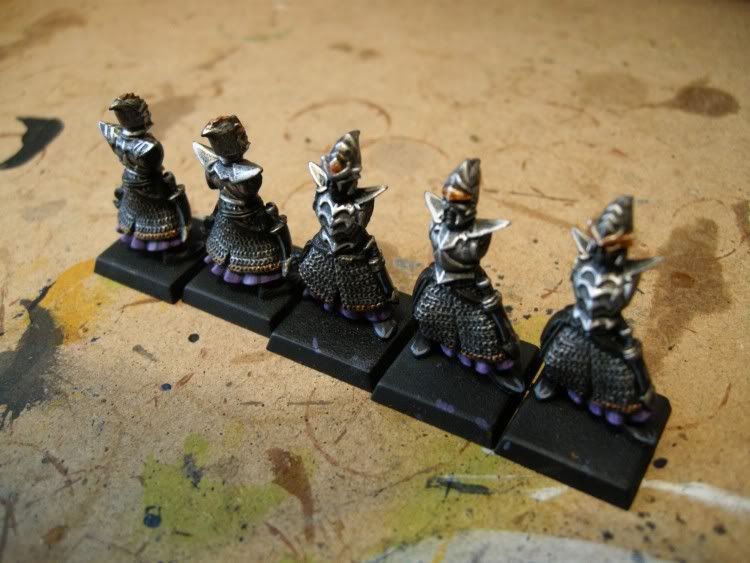
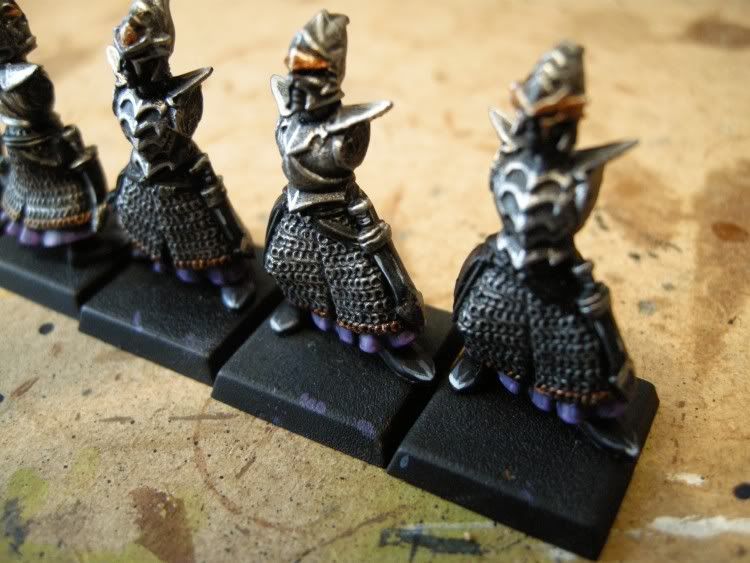
With a little patience, you get something that looks like this
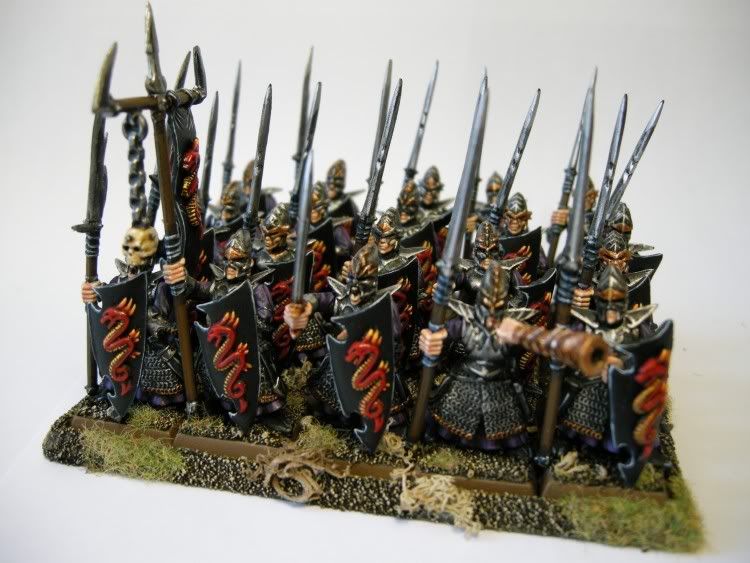
***************************************************************************
Now where did I put that Sacrifical Dagger...?
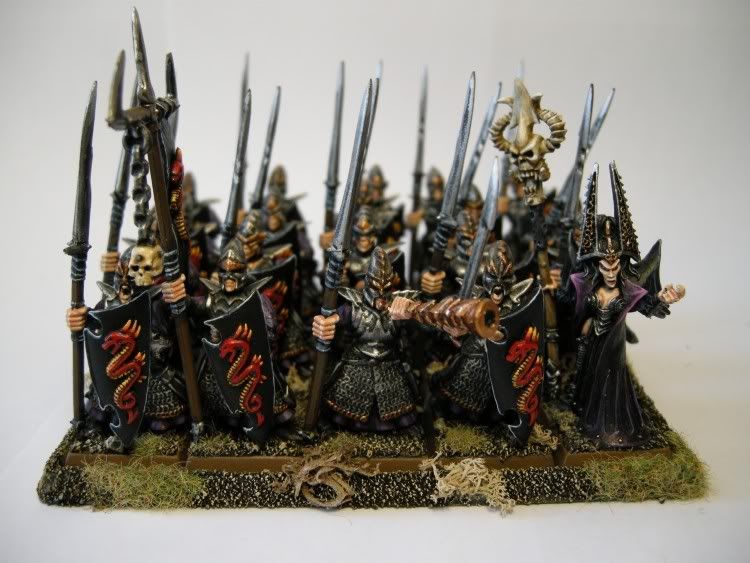
Hope you enjoyed and happy painting!!


