This is a continuation from these threads:
Intersite battle, any interest?
Druchii turn one
Druchii turn two
Druchii turn three
Druchii turn four
Druchii turn five
Please read them for more information.
I'm a day later than usual, but you just have to bear with it.
Asrai turn:
The warhawks charge the dark riders, but as they sweep in the dark riders stand and shoot and kill two models! (extreme rolling again...). They are not (that) afraid though and continues the charge.
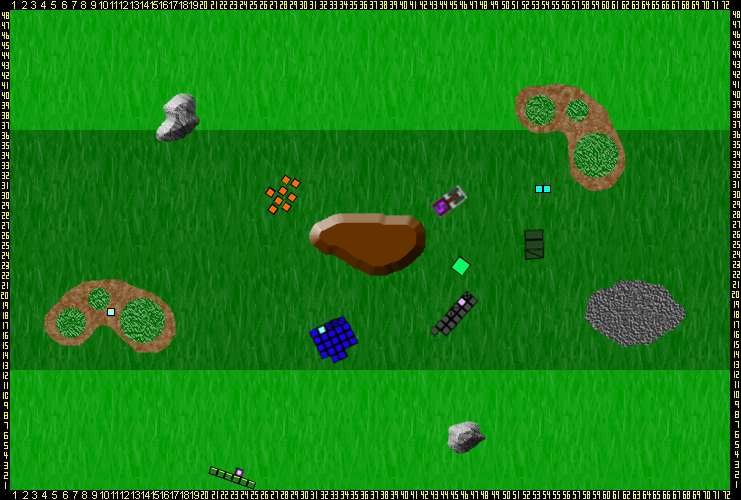
Moves:
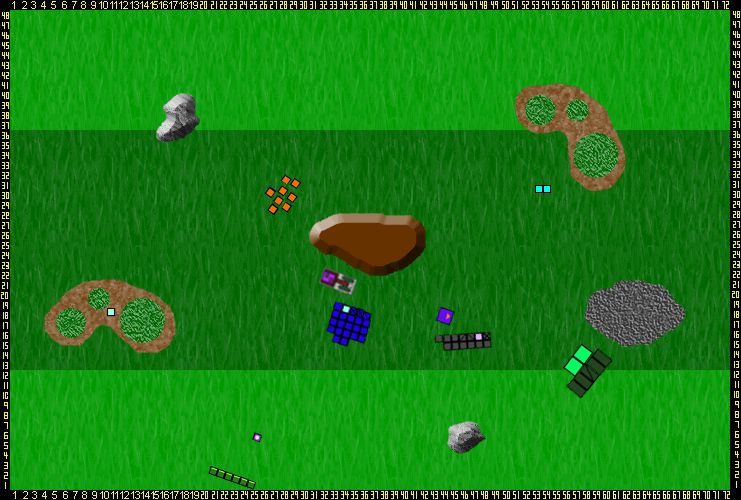
Combat:
The warhawks kill two dark riders who kill one warhawk back. The last warhawks falls back a massive 15 inches leaving the dark rider dumbfooted. He rallies thanks to the hit and run special rule.
End Map:
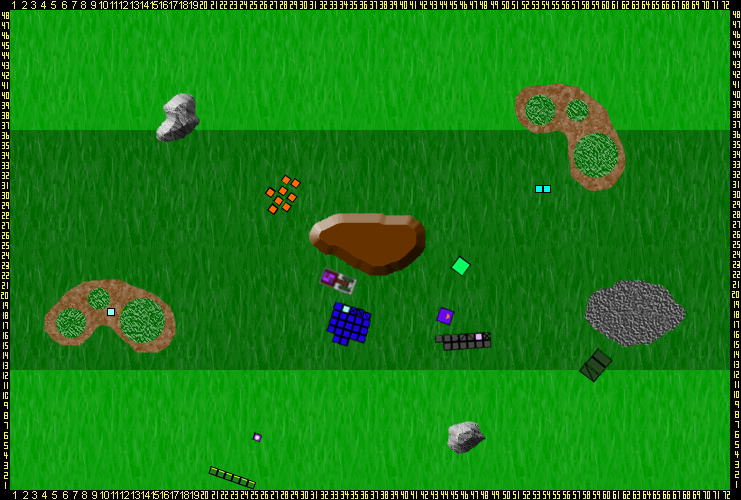
The chariot passed it's stupidity test.