This is a continuation from these threads:
Intersite battle, any interest?
Druchii turn one
Druchii turn two
Druchii turn three
Please read them for more information.
Here's the wood elf turn three. Enjoy....
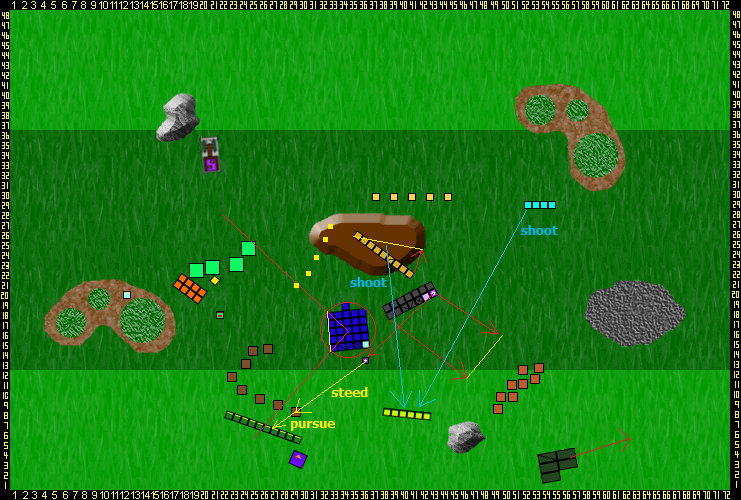
The wardancers charge the harpies with deadly grace and the alter charge into the witch elves in a desperate attempt to stop these bloodied killing machines.
Here's the rest of the moves:
Magic:
None
Shooting:
Spellsinger shoot the dark riders but misses :eek: but the warhawks manage to take one of them down.
Seeing as the warhawks have found a target the glade guards fill the air with their deadly arrows and manage to take the rest of the riders down.
The spearmen don't like that at all and turns to run towards the hated archers (failed panic test). The unit came in disarray though and only stumbled forward four inches.
Combat:
The wardancers eager to see combat ripped the harpies apart easily not leaving a single one. The last remaining wardancer takes heart from this and at last manages to best the illusive beastmaster who killed so many of her fellow dancers. The wild riders are not as lucky and don't manage to survive the ravaging hydra.
The hydra didn't fancy it's odds in the fight however (passed monster reaction test though) and turned and ran only to be beset by a hundred small blades finding every weak point in it's body killing it instantly before it's skin got a chance to regenerate the damage. The cold one chariot got so scared seeing the big hydra get killed by the strange elf daemons that it turned and run away (seven inches).
The alter hears the great death roar, but all his consentration goes into fighting the witch elves. He mangaged to kill three of them with great swipes of his greatsword and the witch elves seeing that they could indeed be bested in combat turned and ran from the madman. They did not get far however before the elf was upon them killing them all including the pancy assasin disguised in his short skirt and bra.
End map:
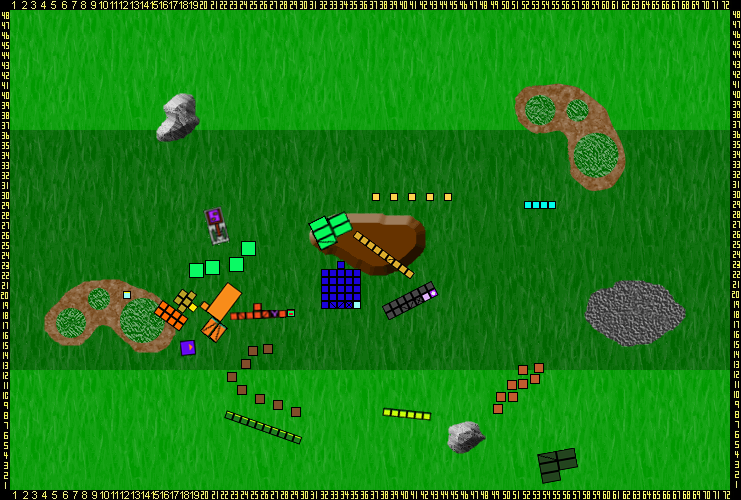
Rally test:
Both the spears and chariot rally.
Well, that's it for this turn. You can't say you don't deserve the dice rolls.....